
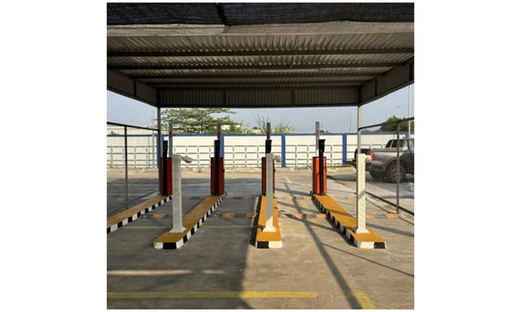
Number plate recognition distance measures from the camera to the vehicle plate at the reading point. The pole location needs more thought than choosing the biggest number in a brochure. Start within the selected model’s installation guidance, mark where the plate will be captured, and inspect actual images from that view. Infrared reach belongs in a different line of the specification.
On a parking entrance drawing, put a line across the lane where you expect a usable plate image. Label it the capture line. The camera point, lens setting and approach path now have a reference the buyer and installer can discuss together. Without it, a distance beside a product name can refer to a vehicle at almost any point in the approach.
Which distance are you measuring?
Keep three figures separate in the proposal: the model’s recognition range, its recommended installation distance and the actual distance at the planned capture line. Our TGW LRA3 camera specifications list a recognition distance of 3–10 m and recommend 3–6 m from camera to vehicle. Those are TGW-LRA3 figures, not a promise for every camera or every lane.
The distinction matters when a drawing places the camera near the far end of a stated range. A published range describes the product under its applicable conditions; the site team still needs an appropriate view of its real plates. Ask for a model-specific layout response rather than treating the largest printed number as the preferred mounting distance.
Write down how the installer measured the proposed separation. A plan-view dimension along the lane may differ from the direct line between a raised camera and a plate. Mark the camera point, capture line and expected vehicle path on the same drawing. This avoids an argument later in which everyone has measured a different pair of points.
|
Label on the proposal |
What it establishes |
What it does not settle |
|---|---|---|
|
Recognition range |
A stated capability of the selected model |
Final pole position at this site |
|
Installation recommendation |
The model’s suggested working arrangement |
A guaranteed result for every plate |
|
Infrared reach |
Illumination information |
Reliable character recognition at that reach |
|
Site capture distance |
The measured proposed camera-to-plate separation |
Acceptance without image tests |
Keep the final measured value in the as-built record. If a pole or stop line moves during construction, the original distance note needs another review.
Where should the capture line sit in the lane?
Look at how a vehicle arrives before choosing where the camera faces. A driver entering from a turn may still be steering at the first convenient pole location. A queue may stop vehicles somewhere else. Draw the ordinary approach, the barrier, any islands and the expected stopping or slowing point; then ask where a plate can be observed consistently.
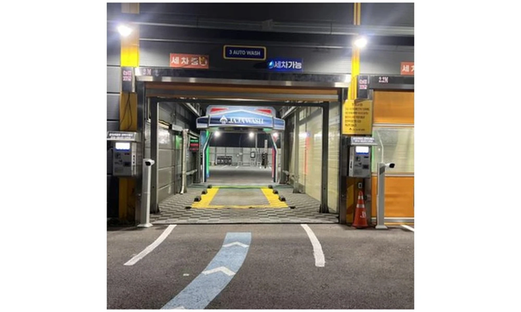
Our broader ANPR camera selection guide covers camera purchasing factors. For this review, put the proposed camera view beside the lane plan. Does it cover the intended capture point? Write the mounting height and side offset beside the distance. Two mounting points at the same distance can look at the plate from quite different angles.
Consider lane edges as well as the center. A short vehicle and a tall one may follow slightly different paths. Ask the designer to show which plates remain in view when drivers approach near either side of the allowed path. A vehicle in the neighboring lane must not become the convenient plate that the system reads instead.
Leave space for the operational sequence after recognition. The access decision, display and barrier response must correspond to the vehicle being read. An image taken too late in the approach may leave the operator with a different problem even if its characters are readable. The integrator should define that sequence with the site, using the actual lane arrangement.
What must the plate look like at the proposed position?
Inspect the plate region, not just a pleasant overview of the entrance. At the capture line, the characters need enough usable detail for the selected recognition system. The exact image criteria should come from the camera supplier and configuration instructions. Avoid substituting an invented universal pixel count or mounting angle for those requirements.
TGW-LRA3’s product information describes a motorized 2.8–12 mm lens. That provides a setting to confirm during commissioning, not an assurance that every view within the published distance will be equivalent. Record the approved lens setting and sample image. If the image includes much more background than the task needs, ask the installer to explain the proposed framing.
Light can change the answer over a working day. Our article on ANPR lighting and traffic conditions covers those influences more broadly. For position approval, retain images with the actual headlights, shadows and reflective surfaces that affect the plate at this capture line. An afternoon demonstration cannot establish what the night shift will see.
Look for physical obstructions too. A canopy edge, sign, protective post or vehicle ahead may cover the useful plate area. Wait for the neighboring equipment before approving the final view. On a narrow island, a sign or barrier cabinet installed later can occupy the space that looked clear during the survey. Keep a camera-view photograph with those objects in place, and mark an earlier empty-lane survey as provisional.
How do you prove the position works across shifts?
Settle the trial plan while the mounting point can still be changed. Which vehicles use this entrance, and which approach paths worried the team during the survey? Put those in the sample with the actual plate formats. Have the owner and supplier agree on the pass criteria and operating conditions in advance. The resulting record needs to describe this entrance, rather than a universal success percentage.
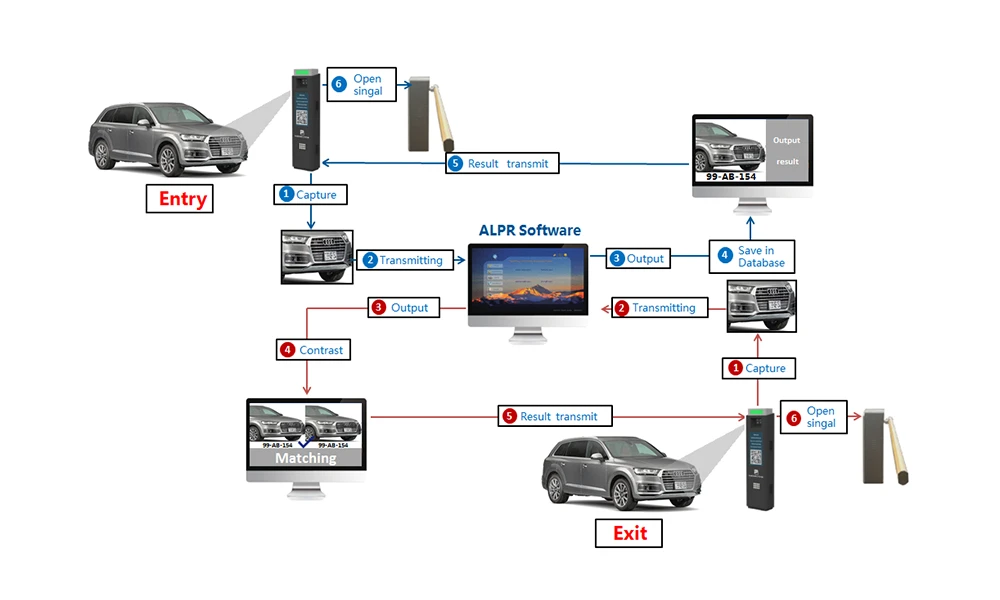
For each passage, retain a timestamped image, observed plate, recognition output and relevant access event. That lets the team distinguish a capture failure from a correct plate followed by a rejected access rule. Moving the camera cannot repair an expired vehicle authorization. Equally, changing the whitelist cannot recover characters missing from a blurred or obstructed image.
The Tiger LP610C integrated terminal combines recognition with display and control functions. If a proposal uses an integrated terminal, keep the same separation in the trial log: image, recognized result, access decision and physical gate response. A single “did not open” entry hides which part needs attention.
|
Trial condition |
Evidence to collect |
Question for the review |
|---|---|---|
|
Ordinary approach |
Plate image and recognition record |
Does the intended vehicle match the event? |
|
Lane-edge approach |
Image with the vehicle path noted |
Does the usable view cover the allowed lane? |
|
Night operation |
Image with normal headlights and site light |
Are plate characters still usable? |
|
Queue or close following |
Ordered vehicle images and events |
Is each result attached to the right vehicle? |
|
Changed position or lens |
New setting and repeat sample |
Does the revised arrangement meet the same criteria? |
Keep the failures in the trial log. Beside each one, note the vehicle path and light condition. When practical, change one setting and repeat that passage before changing another. That leaves the installer a traceable comparison; a folder containing only the clearest screenshots provides much less help.
What should the camera position approval contain?
Approve a small package rather than a distance alone. Bundle the model and lens details with the marked lane drawing, settings and signed trial record. Keep representative images there too. Assign one contact for camera settings and another for access software, even if both roles happen to sit with the same integrator. The first question after a fault should have a clear owner.
Set change triggers in the handover record. Moving the pole, shifting the stop line, changing the lens setting or adding lighting can change the approved view. Have the responsible team review and repeat the affected trial when those changes occur. Reuse the original test conditions where possible, because otherwise the old and new observations cannot be compared sensibly.
When you contact our parking team, send a lane drawing and photographs showing the proposed camera view, vehicle approach, lighting and capture point. Add the selected model and representative plate formats. Those inputs allow a position review tied to this entrance, with the remaining questions turned into a trial the site can witness before signing off.